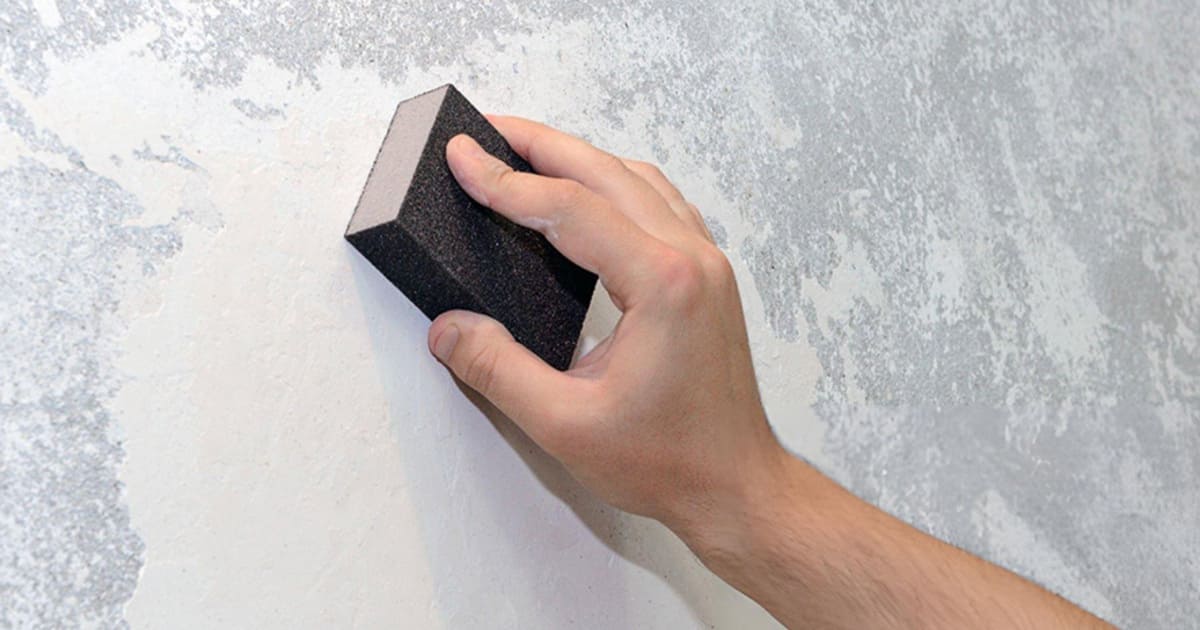
Drywall is a popular material to use for interior walls and ceilings. Drywall sheets are made of gypsum, paper, mica, clay, and resin. The sheets are connected with mud and drywall tape. In order to create a smooth surface for painting, you must sand down the rough surface created as the drywall mud shrinks and dries.
Sanding your drywalls is an essential step in your drywall project. You can’t cover poor finishing touches up with painting.
Here, we provide sanding and painting drywall steps to ensure a professional-looking surface ready to be painted.
Tip: Doing a professional job of the taping will make the sanding much easier later. Cover drywall joints and screws with a small amount of mud and immediately level it with your drywall knife. Immediately apply tape to the wet mud, fixing it carefully and assuring it is flat. Scrape any excess mud away.

How to Sand Drywall with Sandpaper?
Step 1 Prepare the Drywall
The drywall won’t be smooth when you start; there will be depressions in the mud that you need to fill first. Fill them with a joint compound using a putty knife. Wait for the joint compound to dry and add another layer if necessary.
There will also be bits of joint compound that oozes out of joints. Smooth these down with a drywall knife. Go over all the seams in this way before you start sanding. Look out for compound buildup in the corners as well.
Step 2 Choose a Hand Sander and Suitable Grit
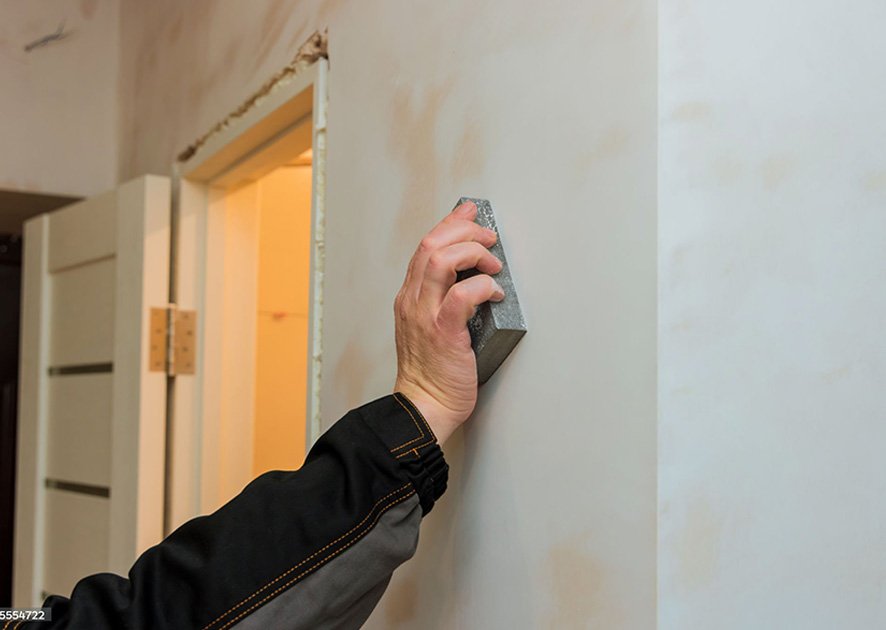
Choose a hand sander for accessible seams of the lower and middle parts of the drywall. A hand sander has sandpaper attached to a flat surface and is easy to handle. It allows for even pressure to be used while sanding.
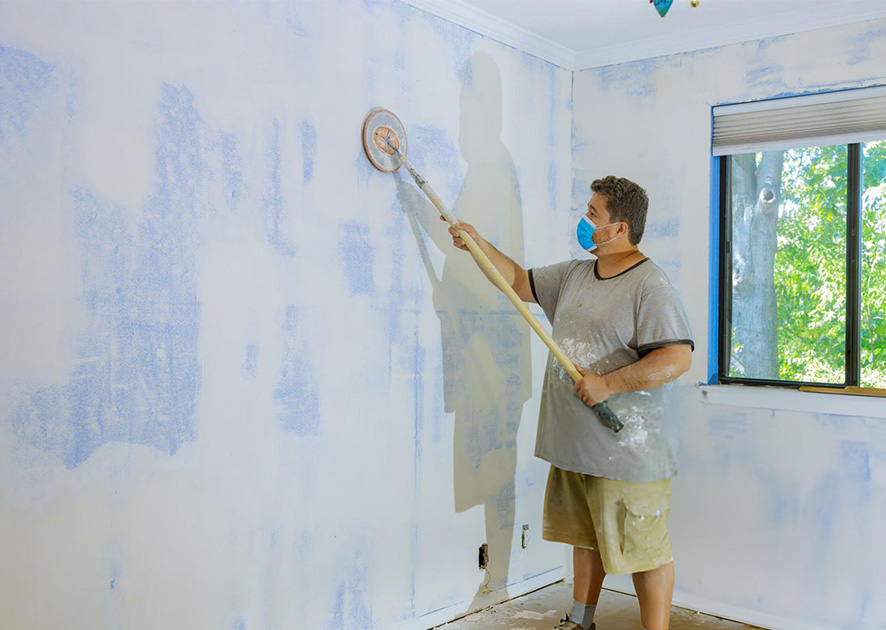
For areas that are difficult to reach, such as the ceiling, you can use a pole sander. A pole sander has a flat sanding head at one end allowing you to reach surfaces like walls and ceilings without the need for a ladder. However, hand sanders are easier to control than pole sanders. If you lose control of a pole sander, you can easily gouge the drywall.
You will also need to do some drywall sponge sanding. A sanding sponge is the ideal tool for sanding corners. Pick a fine-grit sanding sponge to sand inside corners.
Choose your grit for sanding drywall. You will need coarse-grit sandpaper (around 220) to start off with. This will get rid of the rougher areas. You will also need 120 or 150-grit sanding paper to do the finishing touches.
Step 3 Start Sanding
What you are aiming for is a seamless finish. Use even pressure to smooth the edges of the joint compound on all seams. Pressing hard will remove too much of the compound, which will oblige you to do some filling in again.
Use even pressure, sanding in the direction of the seam and moving the sander in circular movements. This will blend the seam with the surrounding drywall to form a smooth unit.
To begin with, use 220-grit sandpaper and move on to a finer grit. Keep using moderate to light pressure in circular movements. This will ensure that you don’t create groves that you later must fill again.
Go over all the screws, nails, and other fasteners. Smooth out any compound that might have accumulated there. The sanding sponge will also be handy here to get the area level.
Next, do the corners. Use a sanding sponge to smooth out the corners where two walls meet. Start in the corner and move outwards toward the wall in smooth, circular movements. Be careful not to damage the drywall paper.
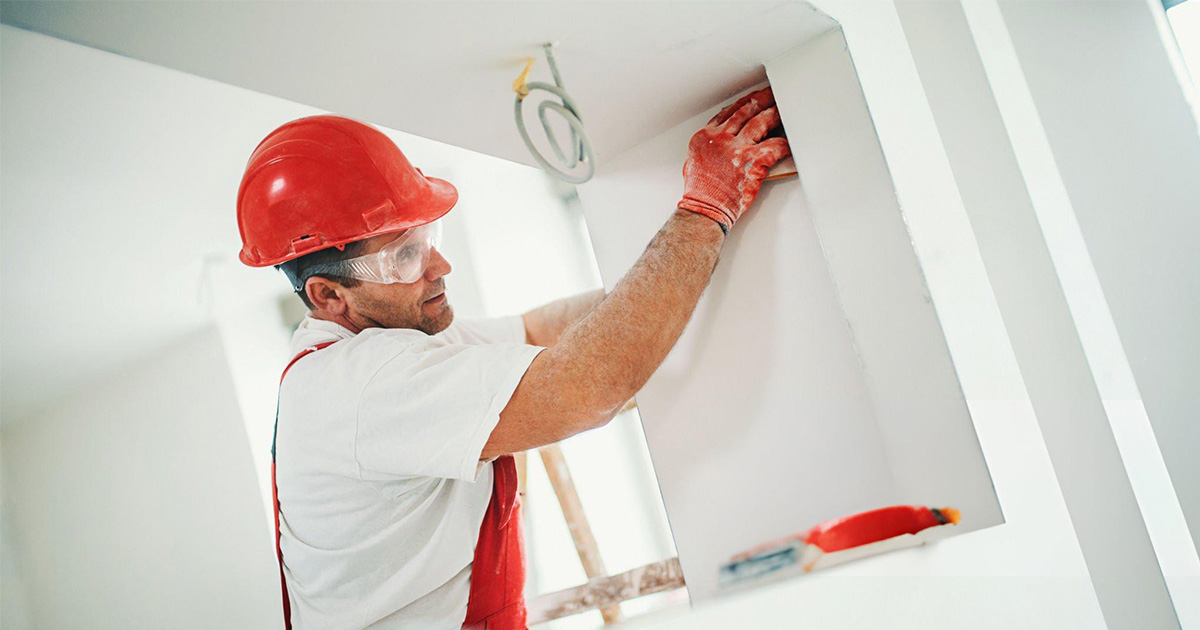
Step 4 Finishing Off the Dry Wall So It’s Ready For Painting
By the time you have completed the sanding, the walls will be covered in dust. To get rid of the dust, you can brush it off with a dry paintbrush or a clean, dry cloth. You can also vacuum the wall.
Shine a bright light on your work to check it for any flaws. Now is the time to correct any uneven spots, either by adding more mud and waiting for it to dry and sanding it again, or sanding more to remove any remaining compound that’s not even with the drywall.
This is a crucial step before painting, as painting will show up any imperfections.
Sand Drywall with an Electric Sander
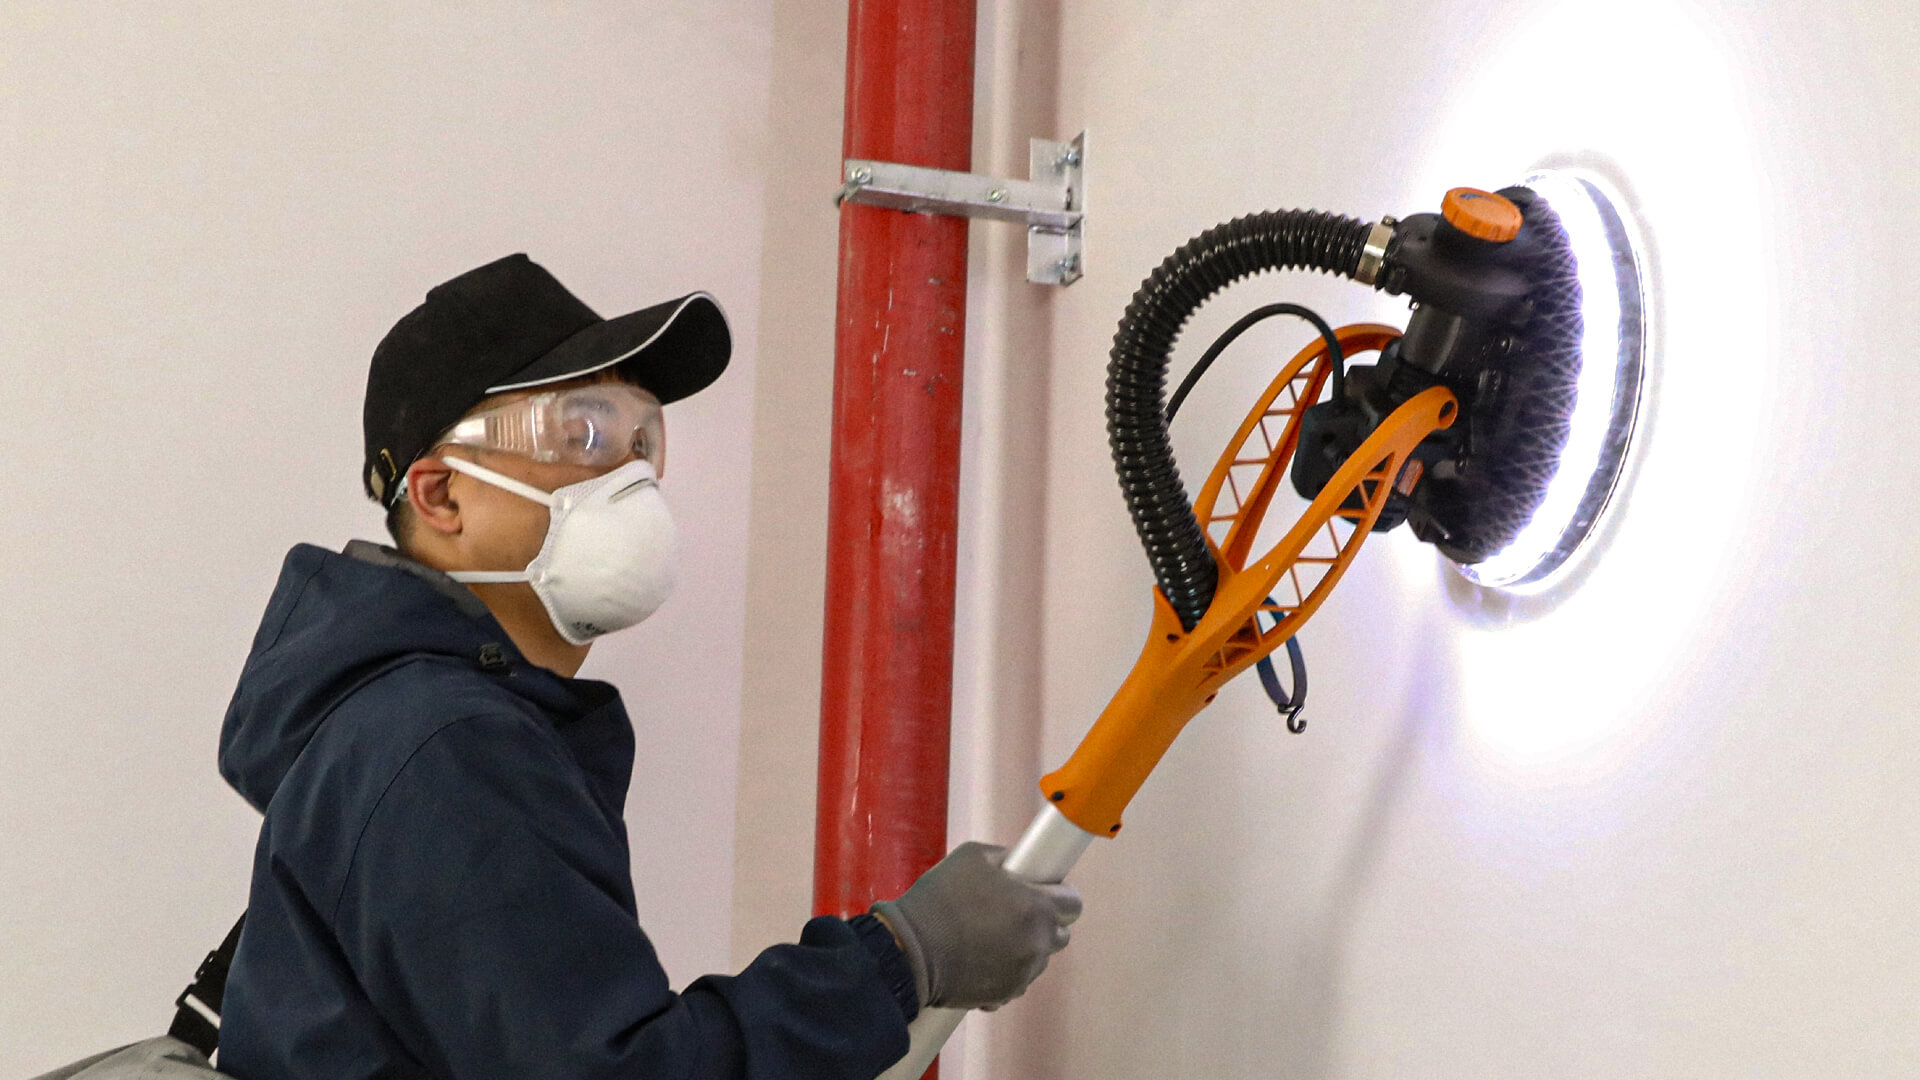
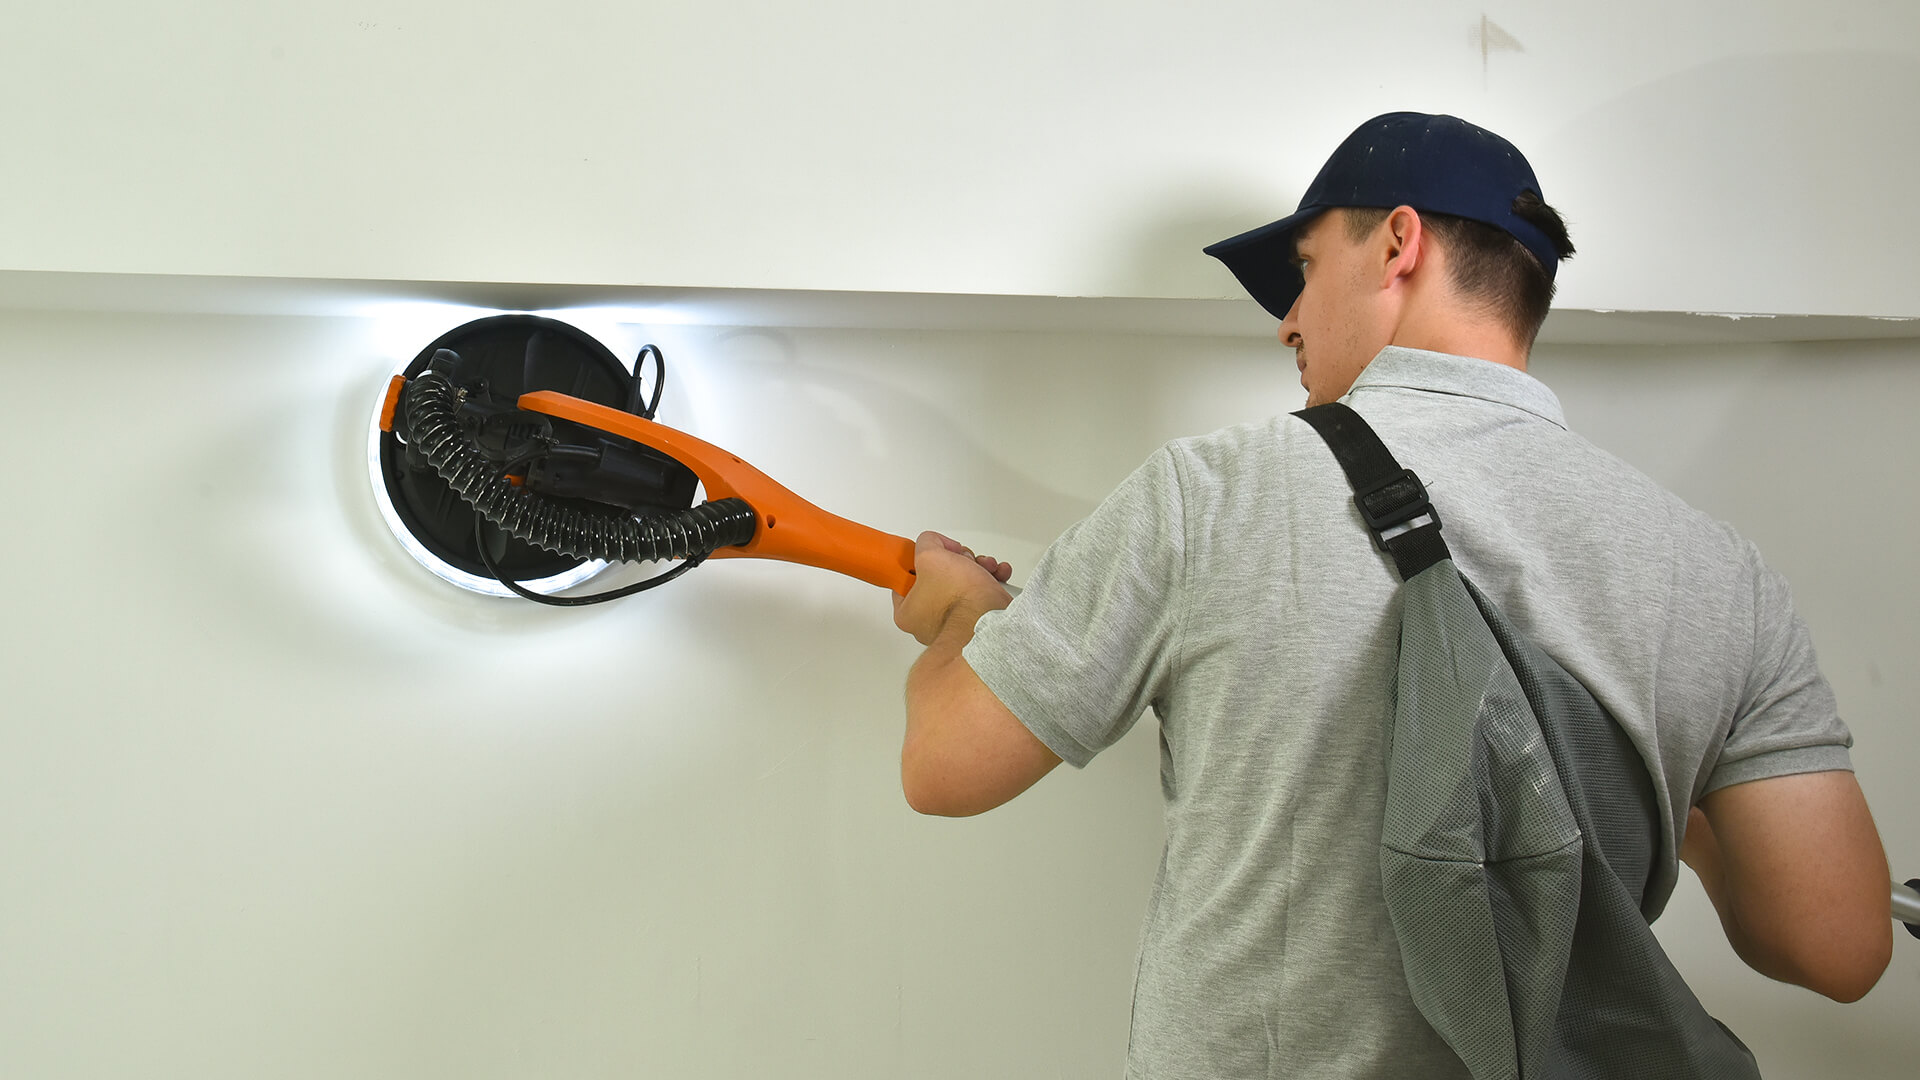
If you have a large-scale drywall project, working with an electric sander will be more efficient. Electric sanders are equipped with rotating sanding discs or belts that cut sanding time in half. These power tools are designed to cover large areas fast.
Choosing an Electric Sander
Drywall sanding creates a lot of dust. Invest in a sander with a dust collection system and filters that you can clean or replace. Choose one that with a dust bag that is easy to remove.
Alternatively, you can choose an electric sander with a vacuum attachment for automatic dust collection.
Choose a tool that offers variable speeds. You can find random-orbit sanders on the market with speeds between 8,000 and 12,000 rpms.
Sanding Steps
- Follow the product instructions to assemble all sander parts correctly. Make sure the power is disconnected while you are doing this. When done, turn the sander on.
- Lay the sanding pad flat on the wall surface and start working on a small section, working lightly until you get a feel for the machine.
- Start sanding from the top of the wall. Sand evenly and smoothly by moving the tool in circular motions while applying only moderate pressure. Allow the power tool to do the work for you.
- Keep the sander in constant motion to avoid creating groves and unevenness in the wall.
- Work systematically from section to section, overlapping so you don’t miss any spots.
- Don’t use an electric sander to sand areas where screws and other fastenings protrude. Sanding over these areas will damage the sanding pad.
- Where two sheets form a corner and when you come to crews and other protrusions, use a sanding sponge to do this delicate work.
- Remember to check the sandpaper and replace it when necessary.
- Turn the power off and disconnect the machine when you’re done.
Note: Although orbital sanders are lightweight and easy to use, it takes time and practice to use them effectively. It’s easy to damage drywall if you haven’t mastered the sanding technique.
Sand Drywall with a Sponge
Wet-sanding is a drywall technique that uses a damp sponge to create a smooth surface. This sanding method is less abrasive than using sandpaper, creates less dust, and delivers top-grade fine finishing.
Wet-sanding Steps
- Wet the sponge in a bucket of clear water and wring it out. Don’t make the sponge too wet; it can damage the drywall paper.
- Us a fine-grit dry sanding sponge to even out uneven areas using a circular motion.
- Be careful not to use too much pressure as the pressure combined with the moisture can damage the drywall paper and possibly remove too much drywall mud.
- Keep dipping the sponge in water and wringing it out as you continue working. Use the smooth side of the sponge and gently move it a circular movement across the drywall surface.
- Apply even, light pressure to avoid damaging the drywall. Remember, dampness will weaken the paper.
- When you have wet-sanded the entire surface, take a damp cloth to wipe it clean. Wait for the wall to dry completely and check that there are no areas that need more work.
- If you find any imperfections, repeat the process until you have a perfectly smooth drywall.
Wall Sanding Techniques and When to Use Them
Sand Drywall with an Electric Sander
Sanding with an electric sander is faster and more efficient than hand sanding. Electric sanders can cover larger areas in less time, shortening the project time. Electric sanders are the preferred choice for large-scale projects requiring a professional finish.
Sand Drywall with a Sponge
Drywall sanding with a sponge, also called wet sanding, is primarily used to create an extra smooth finish after the sanding is completed. Wet-sanding is typically used to prep drywall for painting because the water ensures the surface is smooth and dust-free. It is also used in difficult-to-sand areas like the corners where two sheets meet and around screws and other fasteners.
How to Sand Drywall without Dust?
Drywall sanding creates an enormous amount of dust that gets in everywhere, including your eyes, nose, and mouth, so wear a dust mask and safety goggles for the job.
Separate your working area with plastic sheeting taped to the floor, ceiling, and walls. Use a drop cloth to catch dust while you work. Seal off furniture and cupboards.
To minimize the dust
- Use a low-dust drywall compound (mud). It is heavier than a regular joint compound. This means much of it drops to the ground and won’t keep hanging in the air while you’re working.
- Use a power sander with a vacuum connected to collect some of the dust while you’re working.
- Ventilate your work area, so you don’t inhale the dust. Use a fan to blow the dust outside.
Additional Drywall Sanding Tips
Make sure you have good lighting to see where you need to sand before you start. You also need good light to evaluate your work afterward for any flaws that need to be fixed.
If you have a large drywall project, consider sanding drywall with an electric sander. They are fairly easy to work with and save time and effort. If you choose one with a dust collection attachment, it can help immensely with reducing dust and cleaning up afterward.
Now you know how to sand a mudded drywall, good luck with your project!
