Table of Contents
ToggleSanding rough surfaces just got easier with an orbital sander. Because of its circular motion and vibration, it offers a smoother finish regardless of the material. However, using an orbital sander can be tricky. Knowing how to use an orbital sander can help you save time, achieve a consistent finish, and improve the quality of your sanding.
This article delivers a comprehensive guide on using an orbital sander and tells you everything you need to know to achieve excellent results. Read on to improve your sanding experience.
What Is an Orbital Sander?
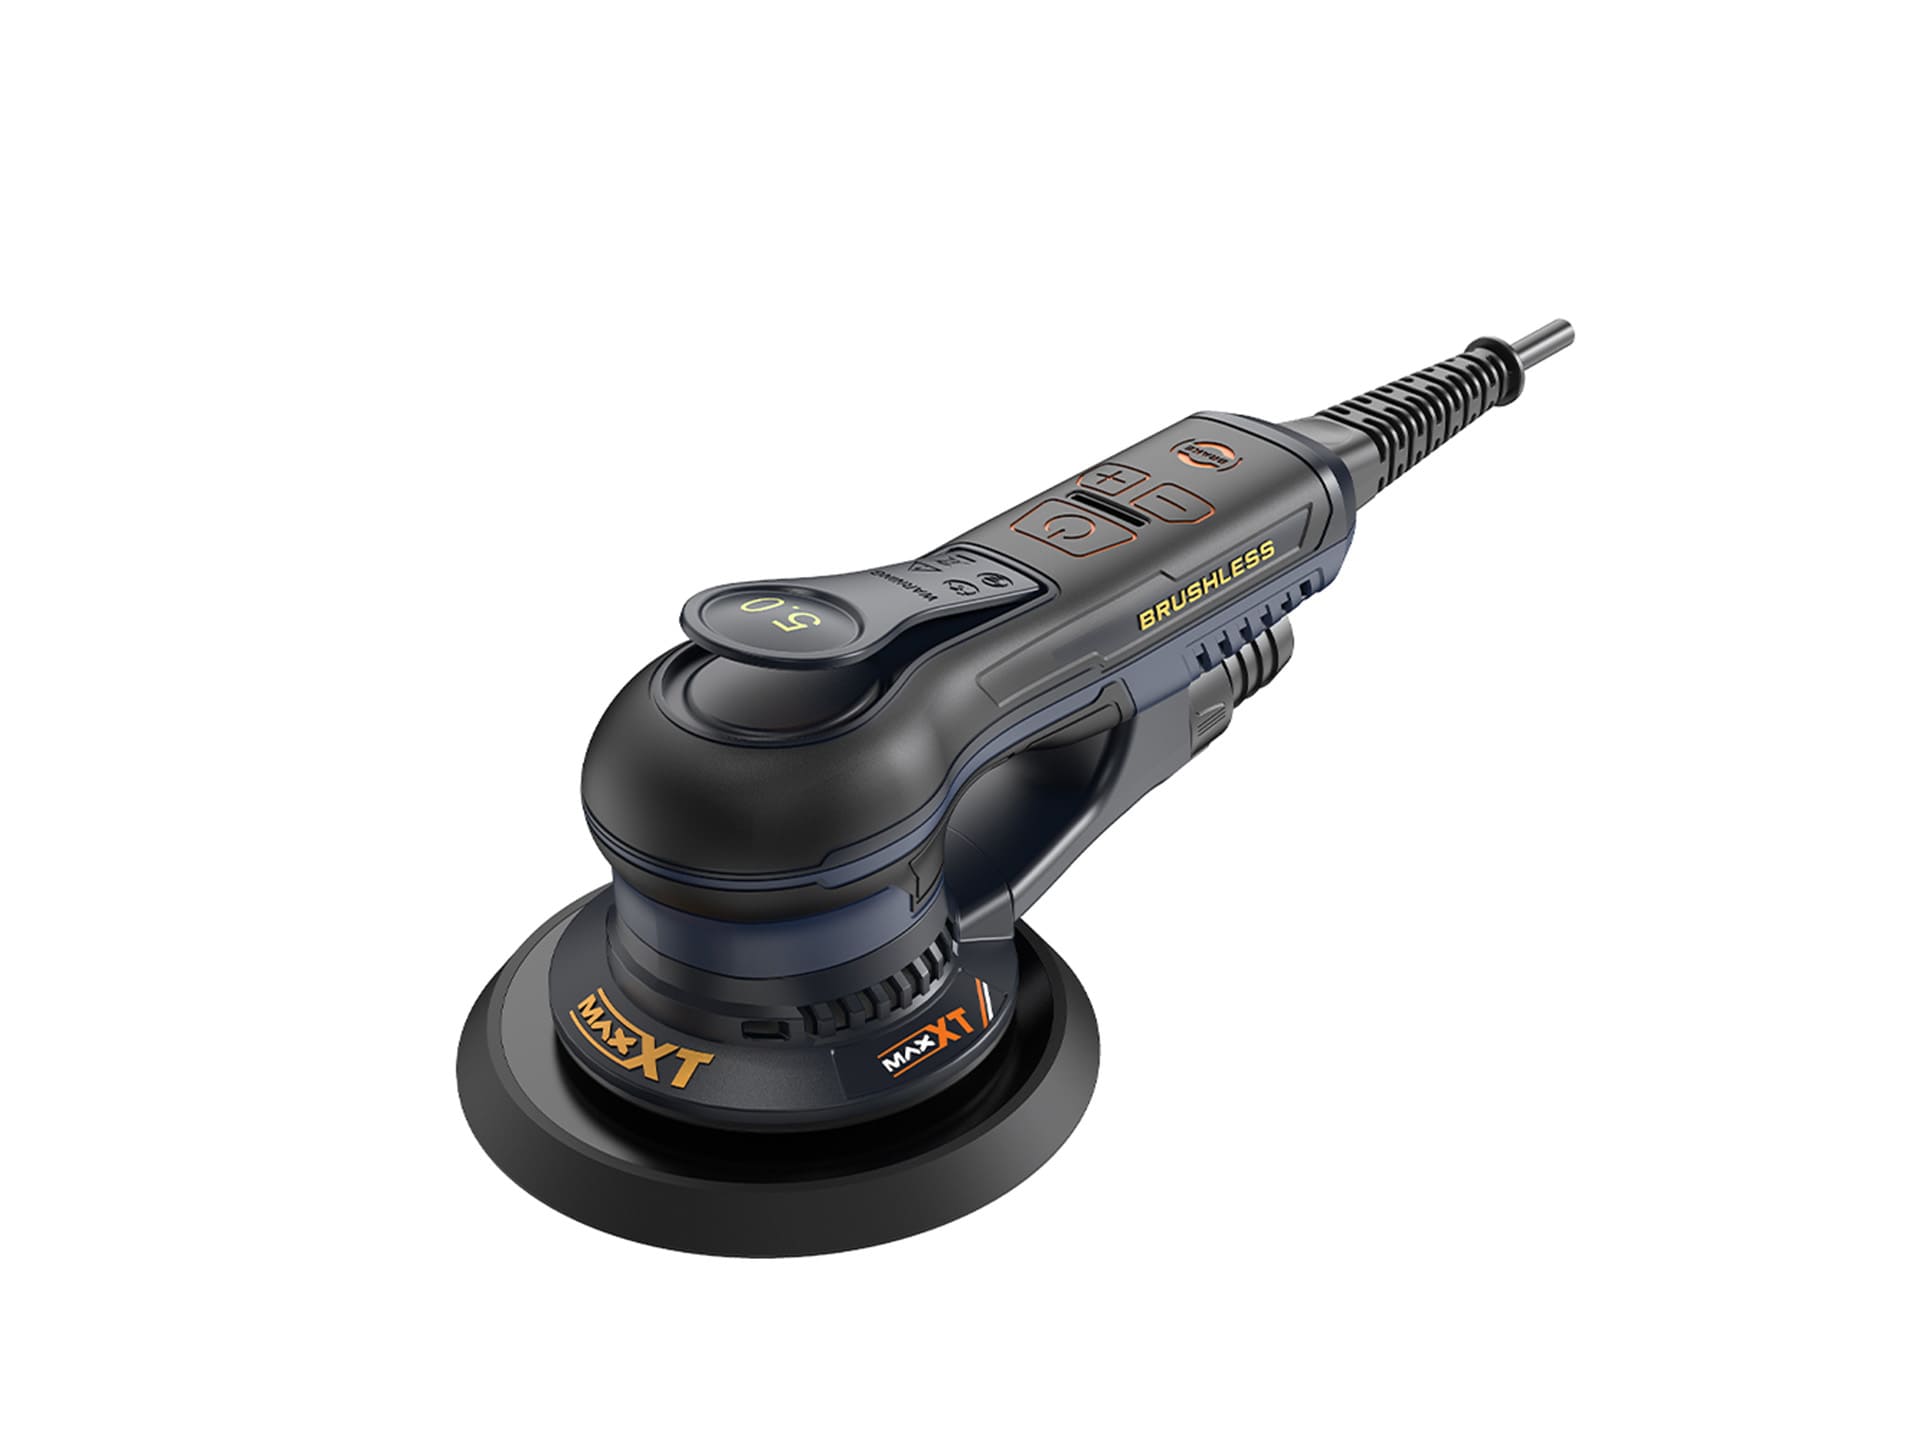
If you’re new to woodworking, you may wonder what is an orbital sander. An orbital sander is a power sander used for smoothening surfaces like plastic, wood, and metal. This handheld tool has an orbital design that allows it to move in a circular motion. Its unique circular and vibrating patterns reduce swirl marks on your surface and improve finishing.
Why Do You Need an Orbital Sander?
Sanding with your bare hands can be time-consuming, stressful, and less effective. This is why an orbital sander is a great option.
Sanding with an orbital sander offers convenience and better results. It’s also a highly versatile and multi-functional power tool suitable for various projects. For instance, you can use it to remove old varnish and paint when preparing your wooden surfaces. You can also use it to smoothen woodwork like cabinets, wooden crafts, or furniture. It’s useful for refinishing and final finishes to achieve a stain-free surface.
Sanding discs for orbital sanders also come in a variety. This makes them ideal for delicate finishing, coarse sanding, and quick material removal. So, whether you’re a professional or hobbyist, an orbital sander is a must-have for better sanding.
Parts of an Orbital Sander
An orbital sander includes different components that allow it to deliver smooth finishes for your woodworking tasks. Identifying these parts is important to properly use and maintain your sanders. We have identified 10 key components of an orbital sander you need to know about.
- Power Source: This provides electrical power to your sander. It can be the rechargeable battery in a cordless orbital sander or the power cord you connect to an electrical outlet.
- On & Off Switch: This switch is on the body or handle of your orbital sander and allows you to turn your sander on and off.
- Motor: This is the engine of your sander. It ensures the movement of the sanding pad.
- Sanding Pad: This is the flat area under your sander where you attach the sandpaper. It moves the sanding disc in small circular motions to smoothen your surfaces.
- Sandpaper Attachment System: This is the clamping mechanism or hook-and-loop system that allows you to attach your sandpaper to the orbital. It’s usually on the sanding pad.
- Dust Collection Mechanism: This allows you to collect dust produced during sanding and keep your workplace clean. It’s a port connecting your vacuum system or a dust bag.
- Handle: This component allows you to hold your orbital sander firmly. It often has a plastic or rubber coating to reduce vibration and improve comfort and firmness.
- Speed Control System: This part allows you to increase or reduce the sanding pad’s speed. In sanders with it, you can adjust the speed depending on the material or sanding task.
- Vibration Reduction System: This component reduces vibration, making it comfortable for extended use. It’s present in most high-end models.
- Ventilation Holes: These are tiny holes that provide ventilation to orbital sanders. They prevent overheating and give air to keep the engine cool during use.
Types of Orbital Sanders
Orbital sanders come in different designs and types, each suitable for specific projects. It’s vital to choose the right sanders to ensure you get value for your money and achieve your preferred result.
1. Random Orbital Sander
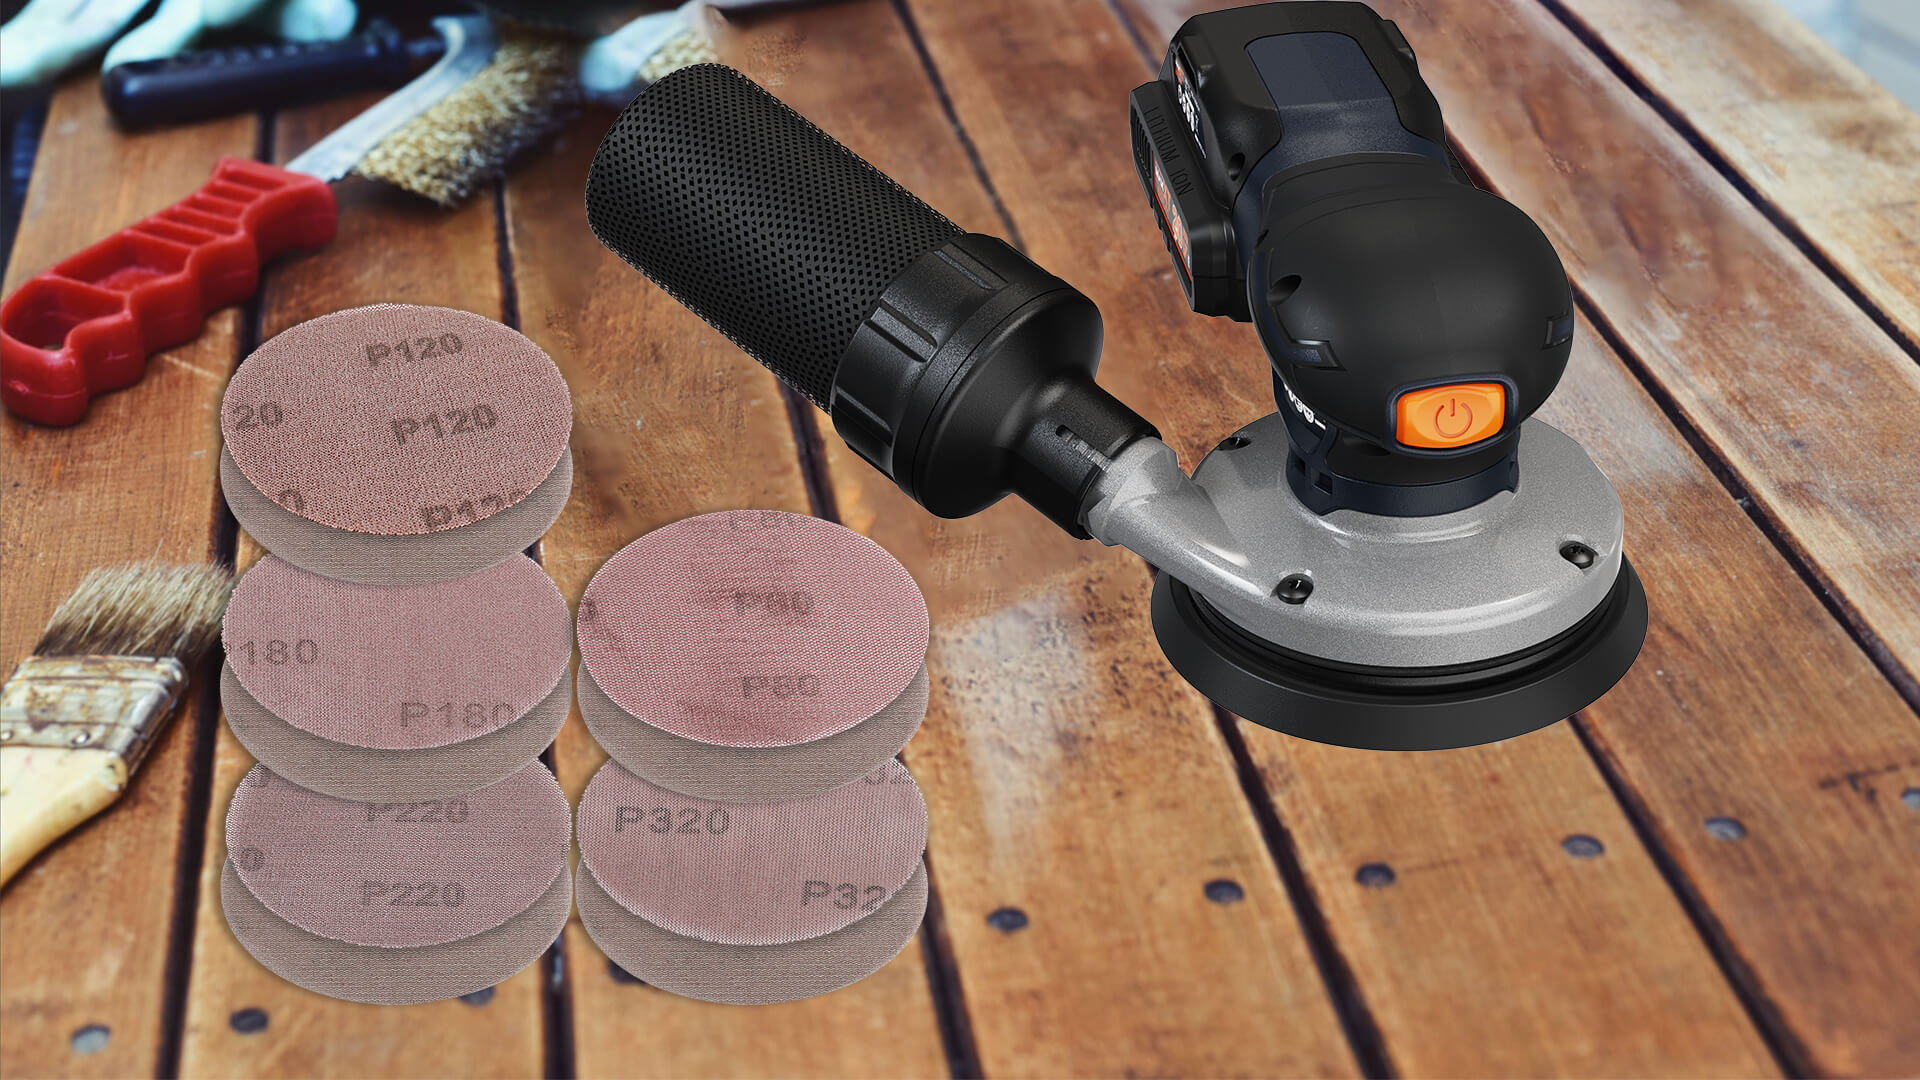
A random orbital sander is the most popular orbital sander due to its versatility. It orbits and spins in small circles, creating random sanding patterns. Due to this random pattern, your surface is less likely to experience swirl marks after sanding. You can use it for materials like wood, plastic, and metal.
2. Detail Sander
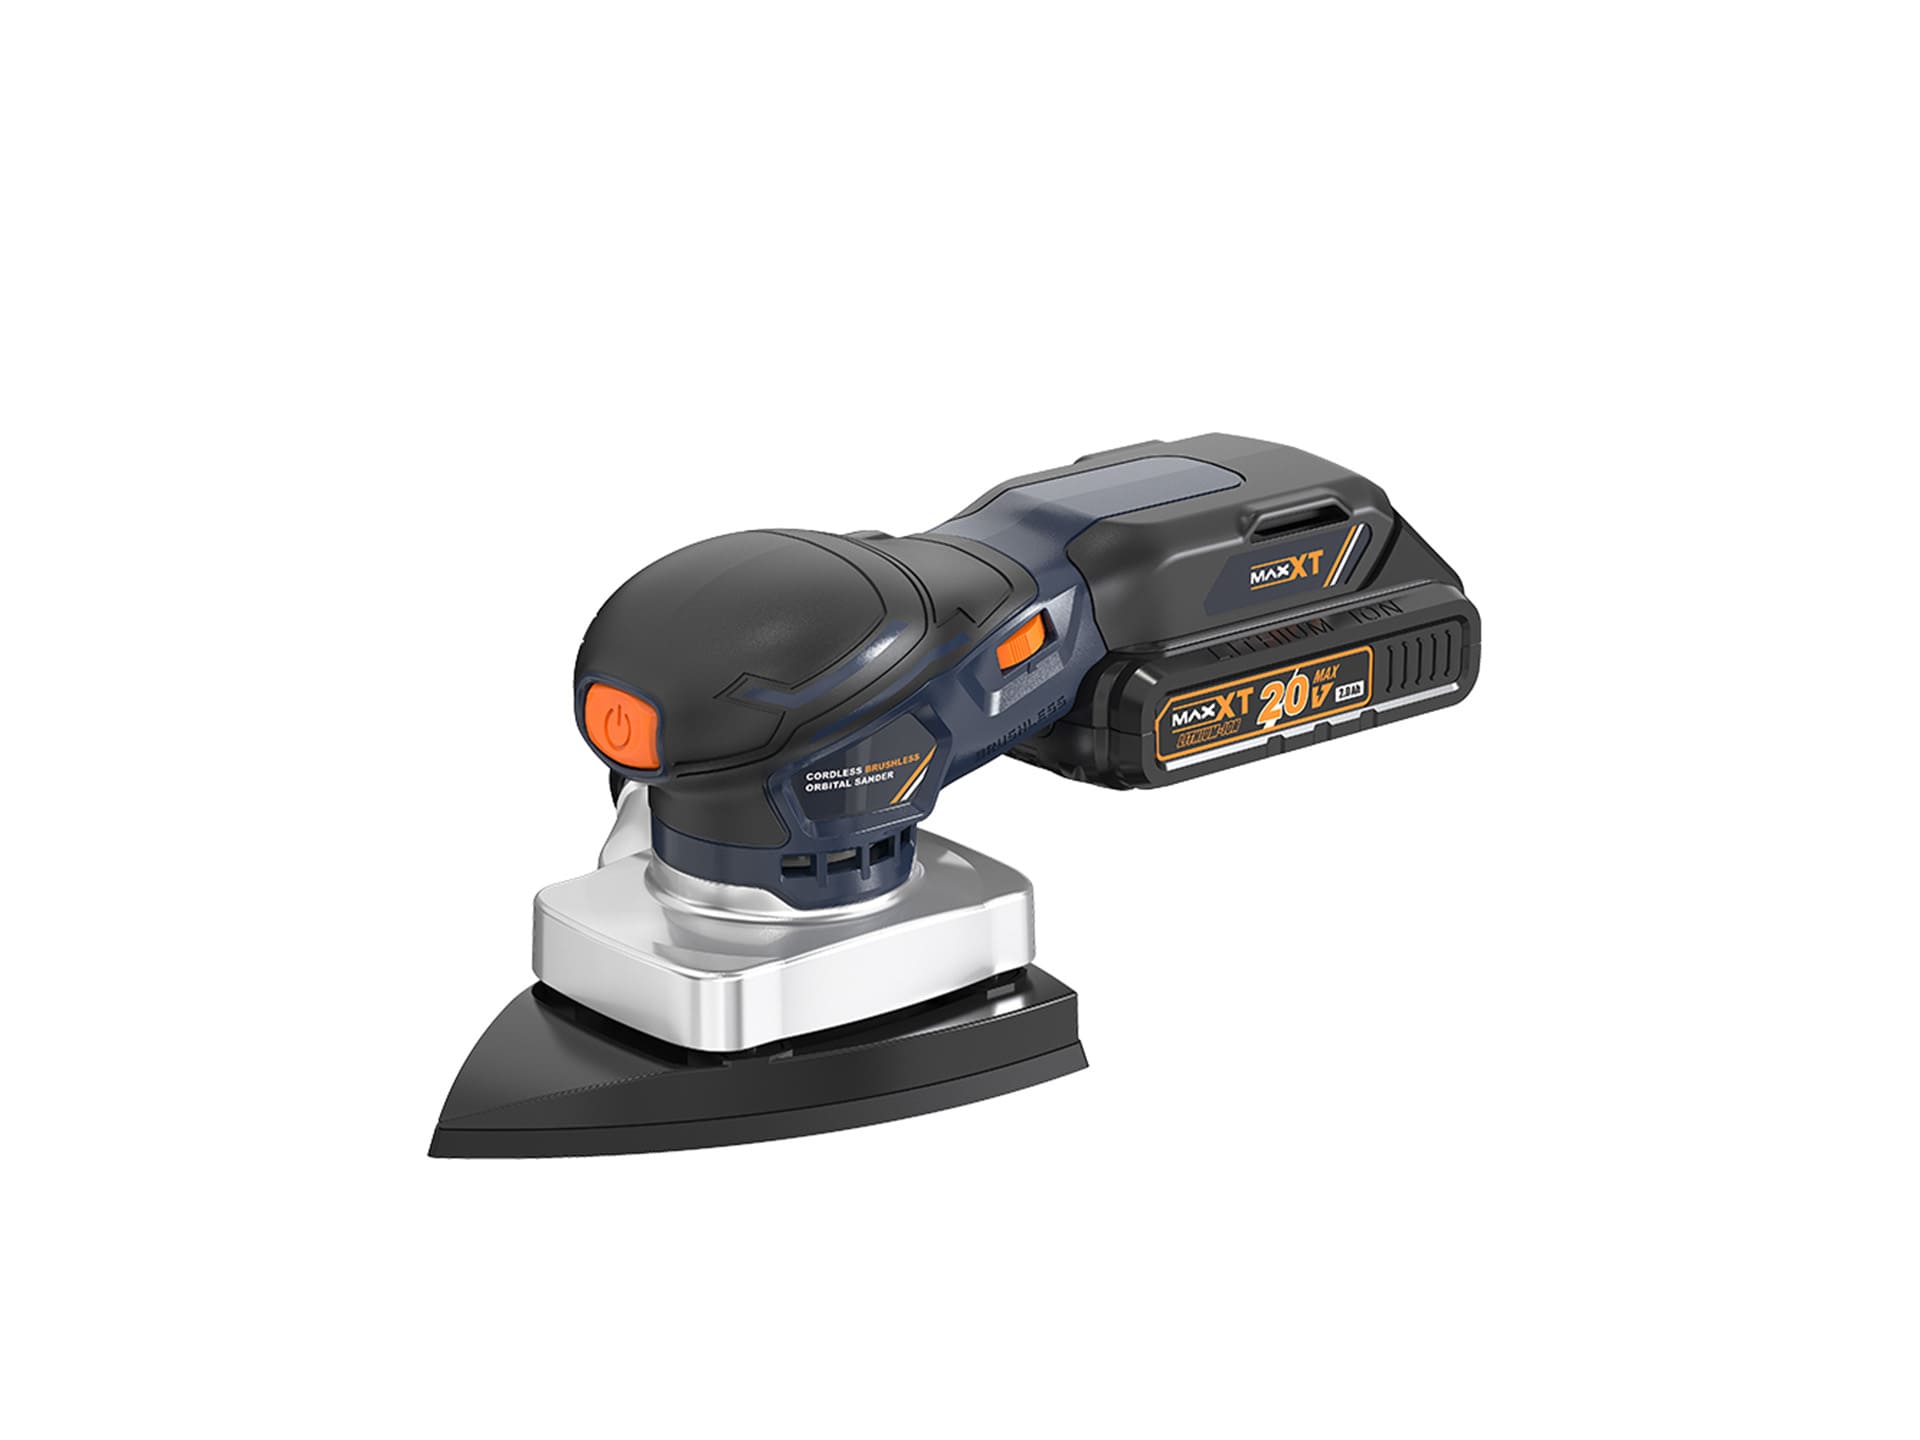
Detail sanders come with smaller triangular orbital sander pads that allow you to access detailed areas. They’re compact and provide targeted and precise movements, making them ideal for delicate projects. They use a hook-and-loop system to attach matching sandpapers to the sanding pads.
3. Palm Grip Sander
Popularly referred to as finish sanders or palm sanders, this sander is unique for its compact size and handling. It has square or rectangular sanding pads. You can use this sander when you want to access the edges and corners of a surface. It uses a clamping system to attach sanding discs to the sanding pad.
4. Sheet Sander
Sheet sanders have large rectangular sanding pads, which make them suitable for sanding large surface areas. The pad moves backward and forward, so it might not offer a fine finish compared to random orbital sanders. However, it’s a great choice for quick material removal and sanding.
How to Use an Orbital Sander?
Are you a professional, or need a sander for your DIY projects? Using an orbital sander can appear daunting, especially if you’re new to it. You need the right technique, your safety is important, and choosing the right sanding disc can be complex. Don’t worry; we have got you covered with these steps to make your sanding more enjoyable.
Step 1: Choose Safety
It’s essential to prioritize your safety before using a sander. Here are some tips for orbital sander safety:
- Wear an Eye Protector: Get safety glasses to protect your eyes from dust. Ensure the goggles offer full coverage and fit firmly around your eyes for better protection.
- Get Eye Protection: Orbital sanders often produce loud noise that can damage your ears. Get an earplug for protection.
- Use a Dust Mask: You need a respirator or dust mask, especially if the materials release harmful dust. It ensures your lungs receive clean air when sanding.
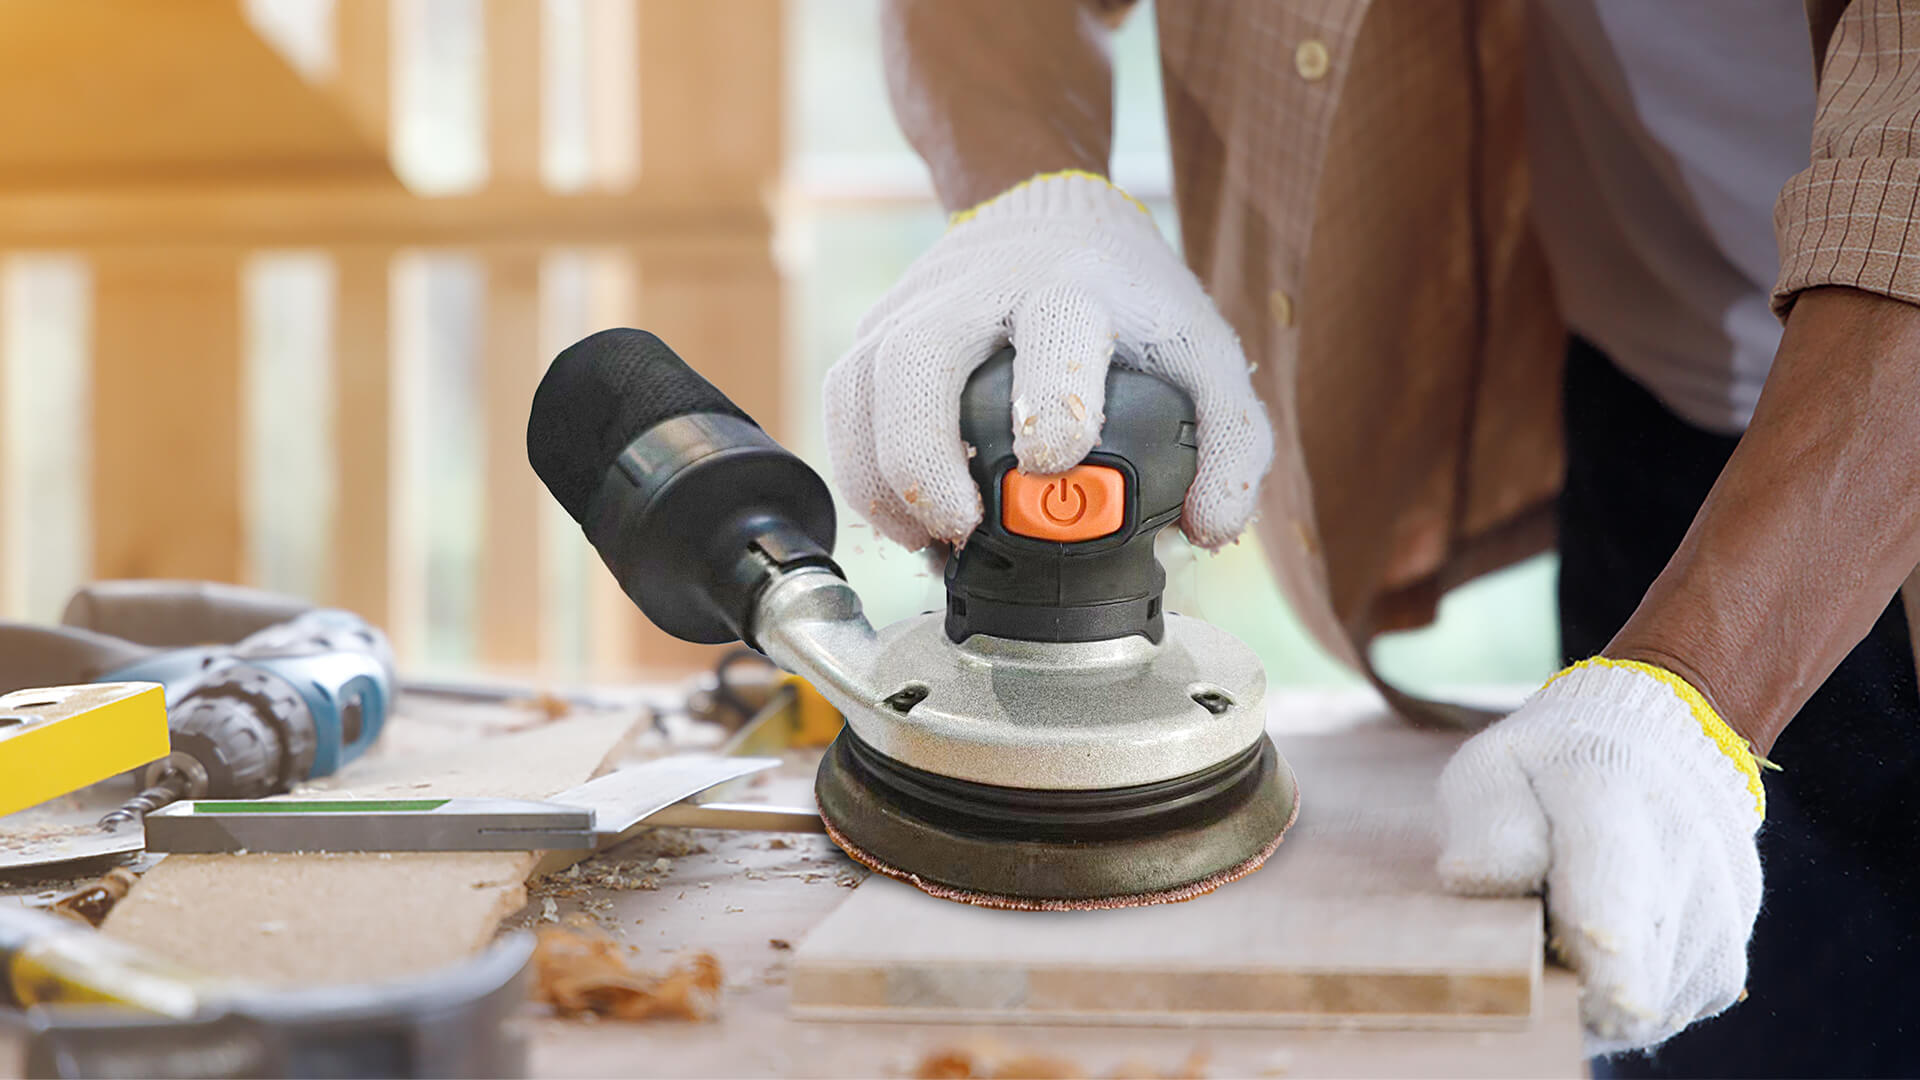
- Use Gloves: Gloves protect hands from blisters, the vibration of the orbital sander, and dust. Pick a glove that fits snugly on your hand for easy hand movement.
Step 2: Set up Your Workspace
Here’s what you need to do ahead of using your random orbital sander:
- Clean the Area: Remove debris and dust from your workspace. This ensures you remove any safety hazards and maintain a clean sanding surface.
- Secure the Workpiece Firmly: Movable or small pieces can shift easily if not firmly secured. So, secure the plastic or metal material to a workbench with clamps.
- Pick a Well-Ventilated Area: Use a well-ventilated space to ensure convenience and safety. It also prevents your workspace from getting stuff, especially when there’s a lot of fine dust.
Step 3: Choose the Right Sandpaper Pad
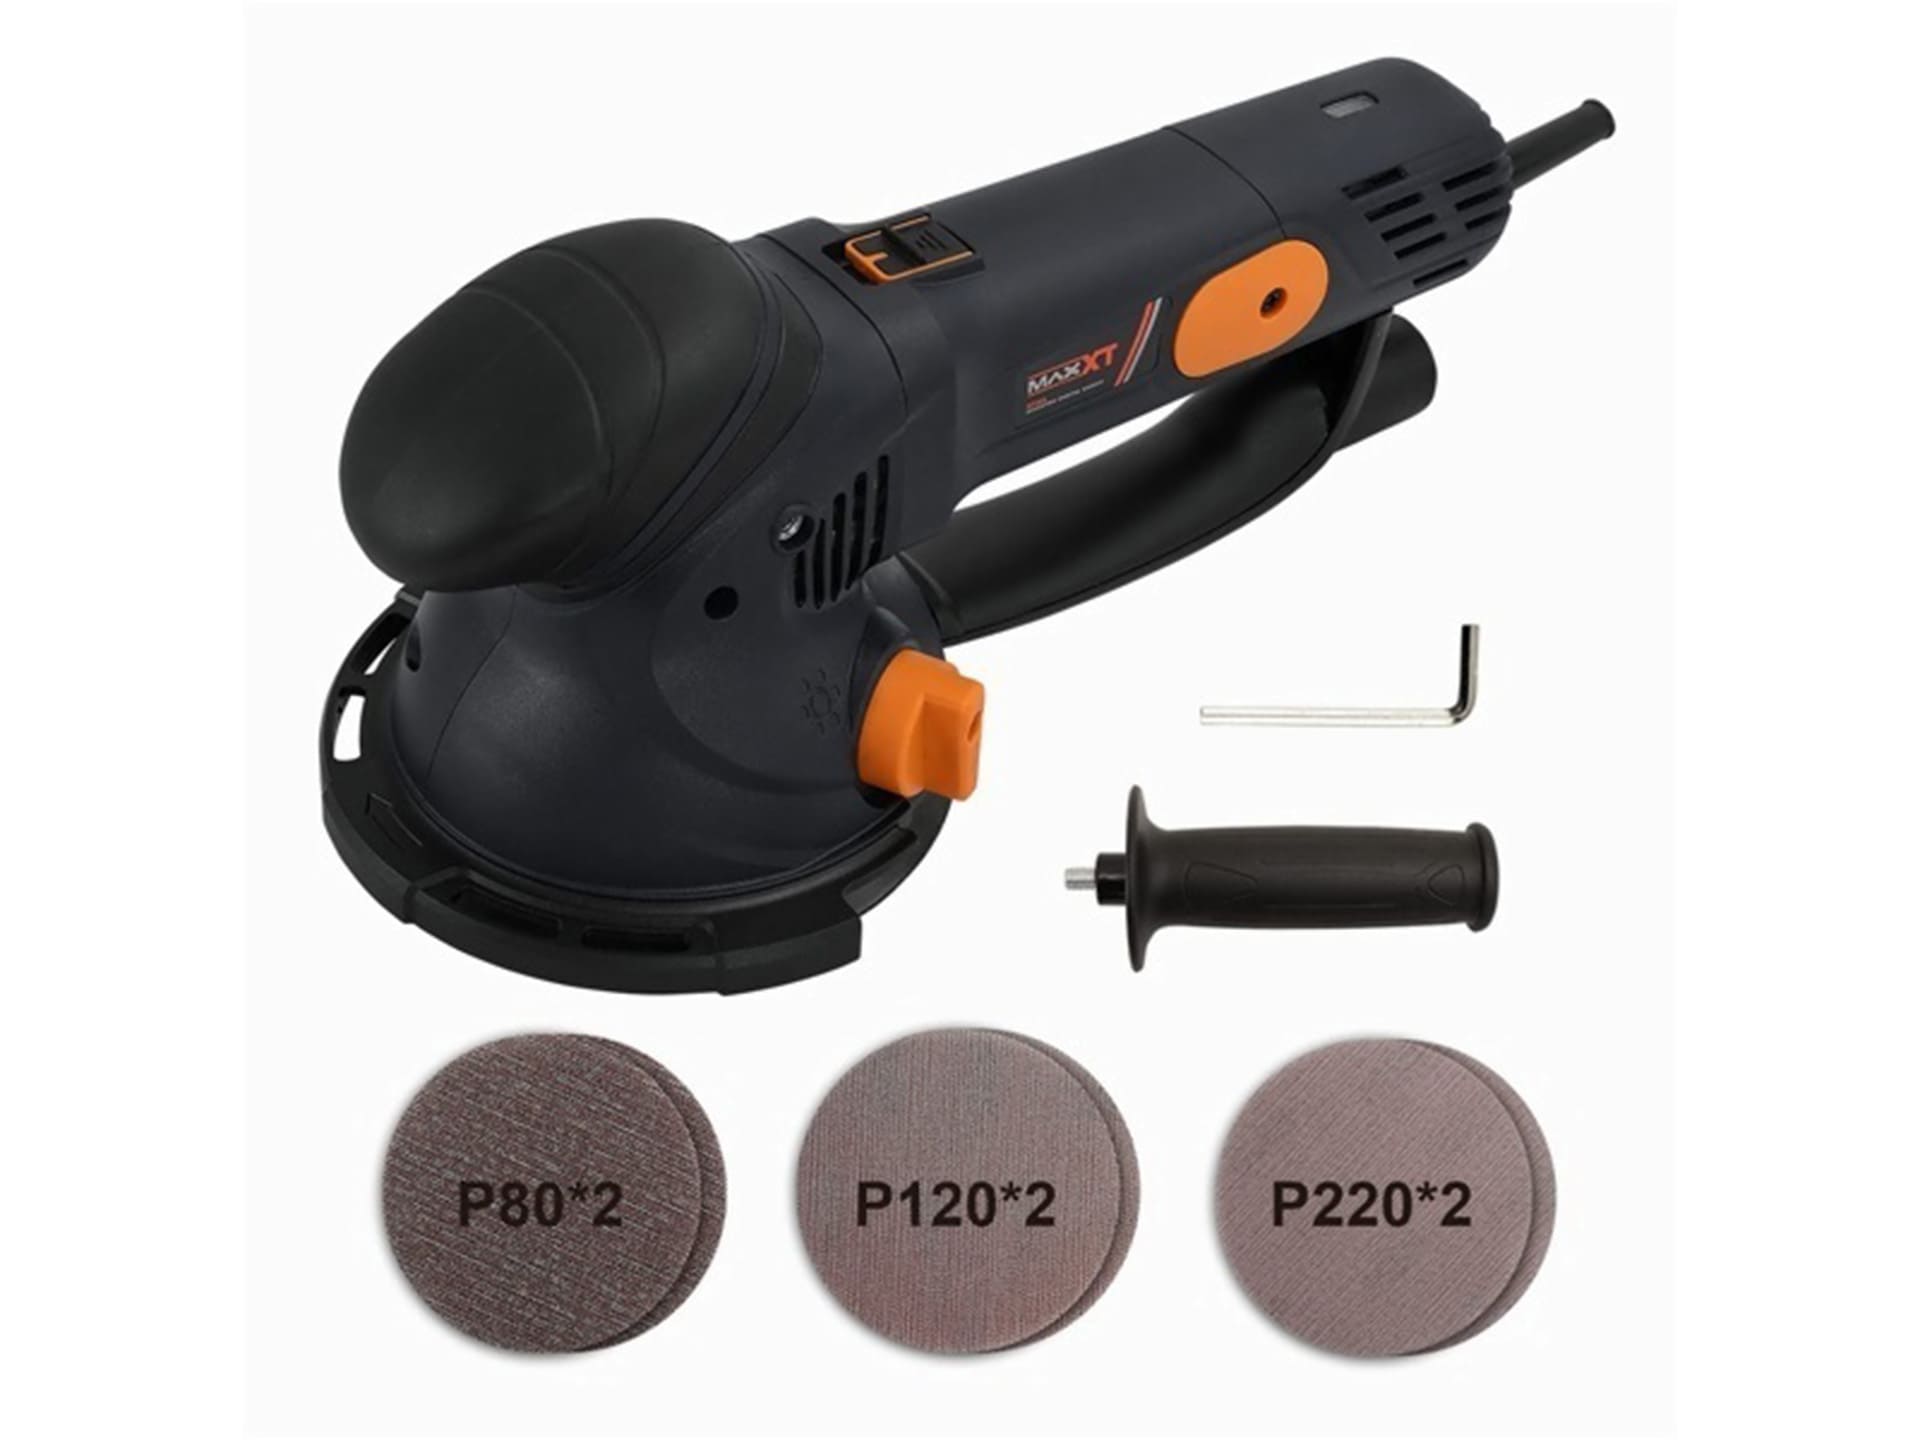
The next step is to choose sanding discs for orbital sanders. Most sanders have the same sanding pad design, with slight variations depending on the brands. However, a standard orbital sander has a 5-inch pad with dust collection holes.
Ensure you choose a corresponding sanding pad to match your sander. Consider selecting a waterproof disc for wet sanding projects or automotive refinishing. A hook-and-loop disc is practical if you want to switch between multiple grits. Choose an adhesive-back disc when you need a stronger bond between your sanding disc and the orbital sander.
After selecting a corresponding disc, choose an appropriate grit. The correct grit will depend on the type of project and the nature of the sanding. For instance, you need a coarse grit for highly rough surfaces. Regardless, you will most likely need multiple grits as you move from one phase of the project to another. You can confirm the grit by checking for a number on the packaging.
Here’s a list of grit ranges to help you make a suitable choice for your project:
- 40 – 60: This is coarse grit. It’s your best bet if you’re sanding very rough materials and stripping old finishes. For instance, use this grit when removing old paint or sanding a metal material.
- 80 – 150: This is less aggressive than coarse grit. It can help you smoothen rough materials and strip older finishes. You can start with this for small woodworking projects.
- 150 – 220: Sandpaper discs in this range offer fine grit. Choose this range if you’re prepping a surface for paint or finishing your project.
- 320 – 400: You should only get sandpapers in this range for delicate projects requiring highly smooth finishes. This range offers very fine grit for the final touches at the end of your projects.
Step 4: Prepare the Orbital Sander
After getting the right sanding disc with suitable grits, you’re ready to prepare your orbital sander.
- Keep It Off: When preparing your sander, turn it off to avoid any safety issues. For extra caution, unplug the power cord or remove the battery.
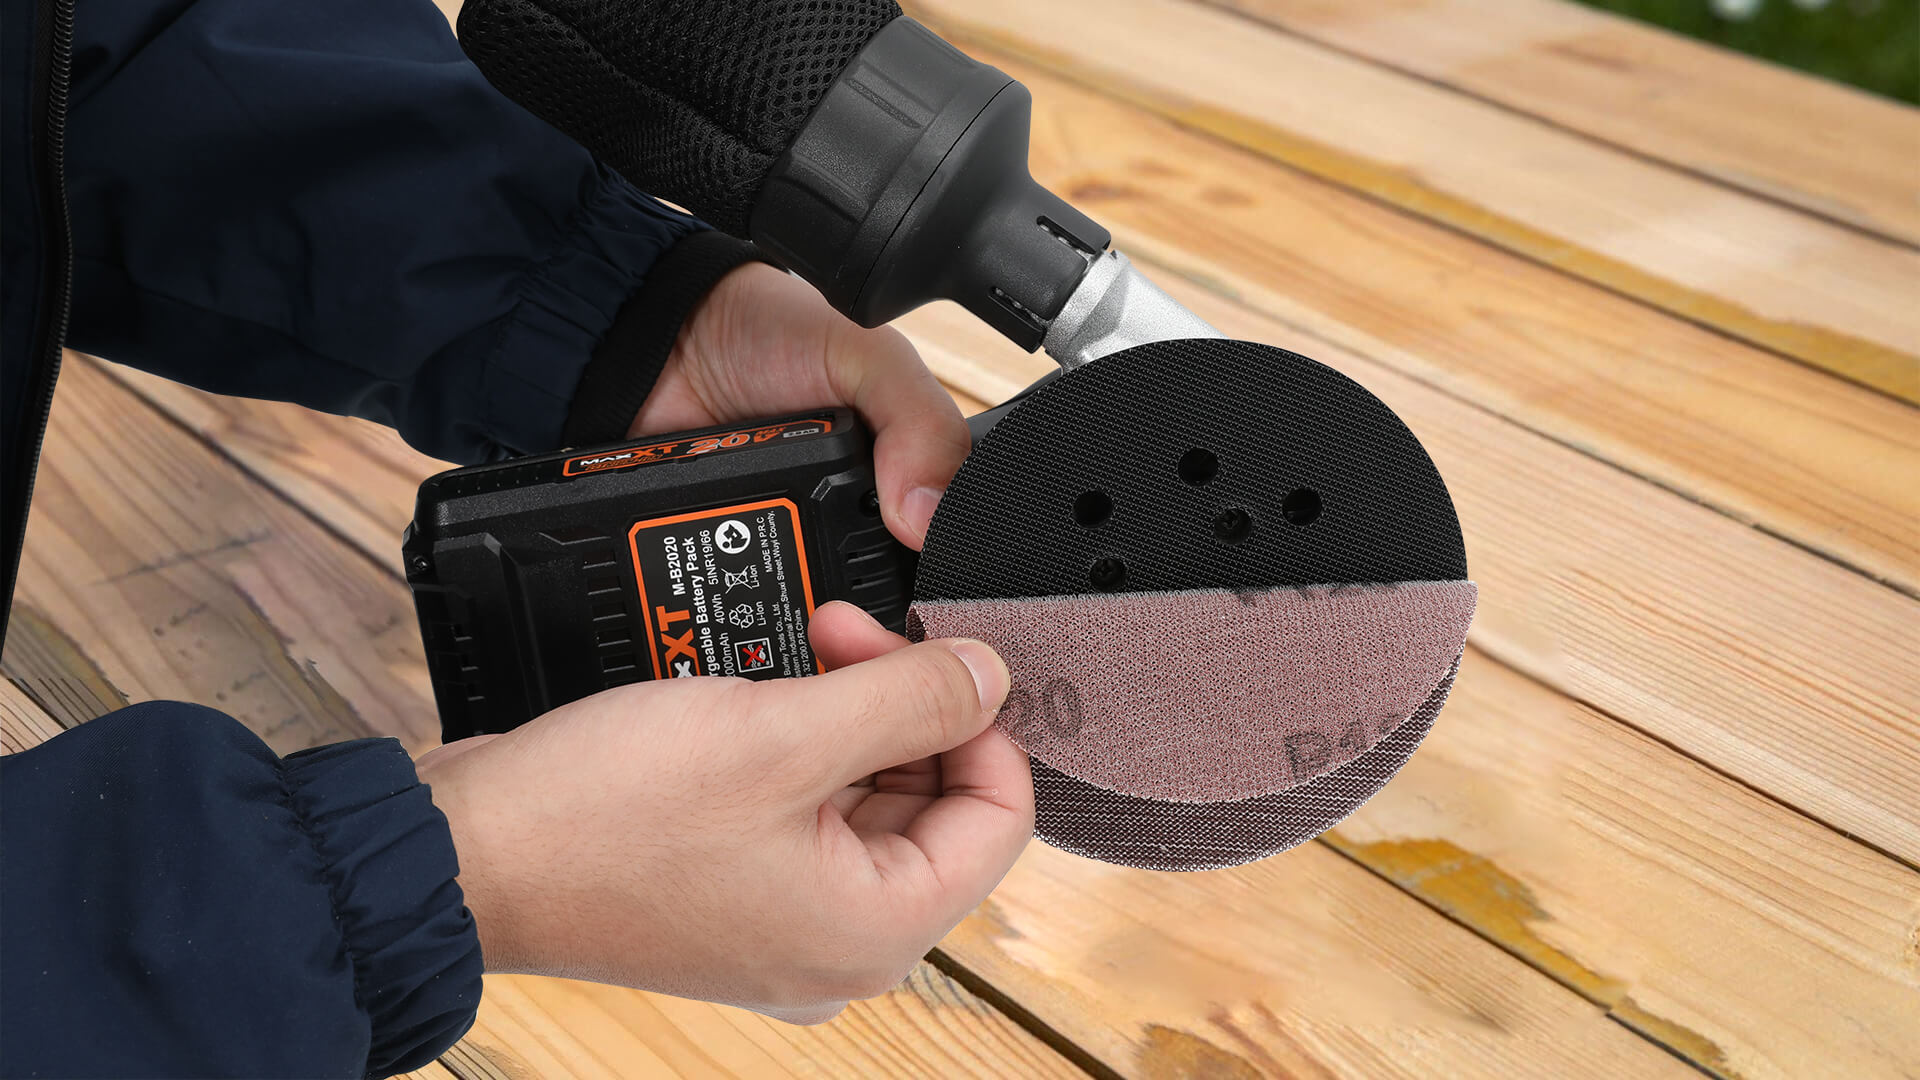
- Attach the Sanding Disc: Attach the sanding disc to your orbital sander and ensure it fits evenly and firmly. Also, ensure you align the ventilation holes.
- Adjust the Speed: Before you begin, adjust the speed of your sander to match your task. Choose a lower speed for delicate materials and finer grits. In contrast, rigid materials can withstand faster speed.
- Connect the Dust Bag: Align the holes in the sanding pad with the holes in the sanding disc. Then, fasten the dust collection bag to your orbital sander to prevent dirt from accumulating. Connect your dry or wet vacuum to the sander for sanders with ports.
Now, you’re ready to begin sanding!
Step 5: Sand the Material
Once you have taken safety precautions, set up your workspace, bought the right sandpaper disc, and prepared your sanders, you can begin sanding.
- Turn It On: After connecting to a power source, hit the on switch to turn on your orbital sander. When switching on, ensure your sander is above the material you want to sand.
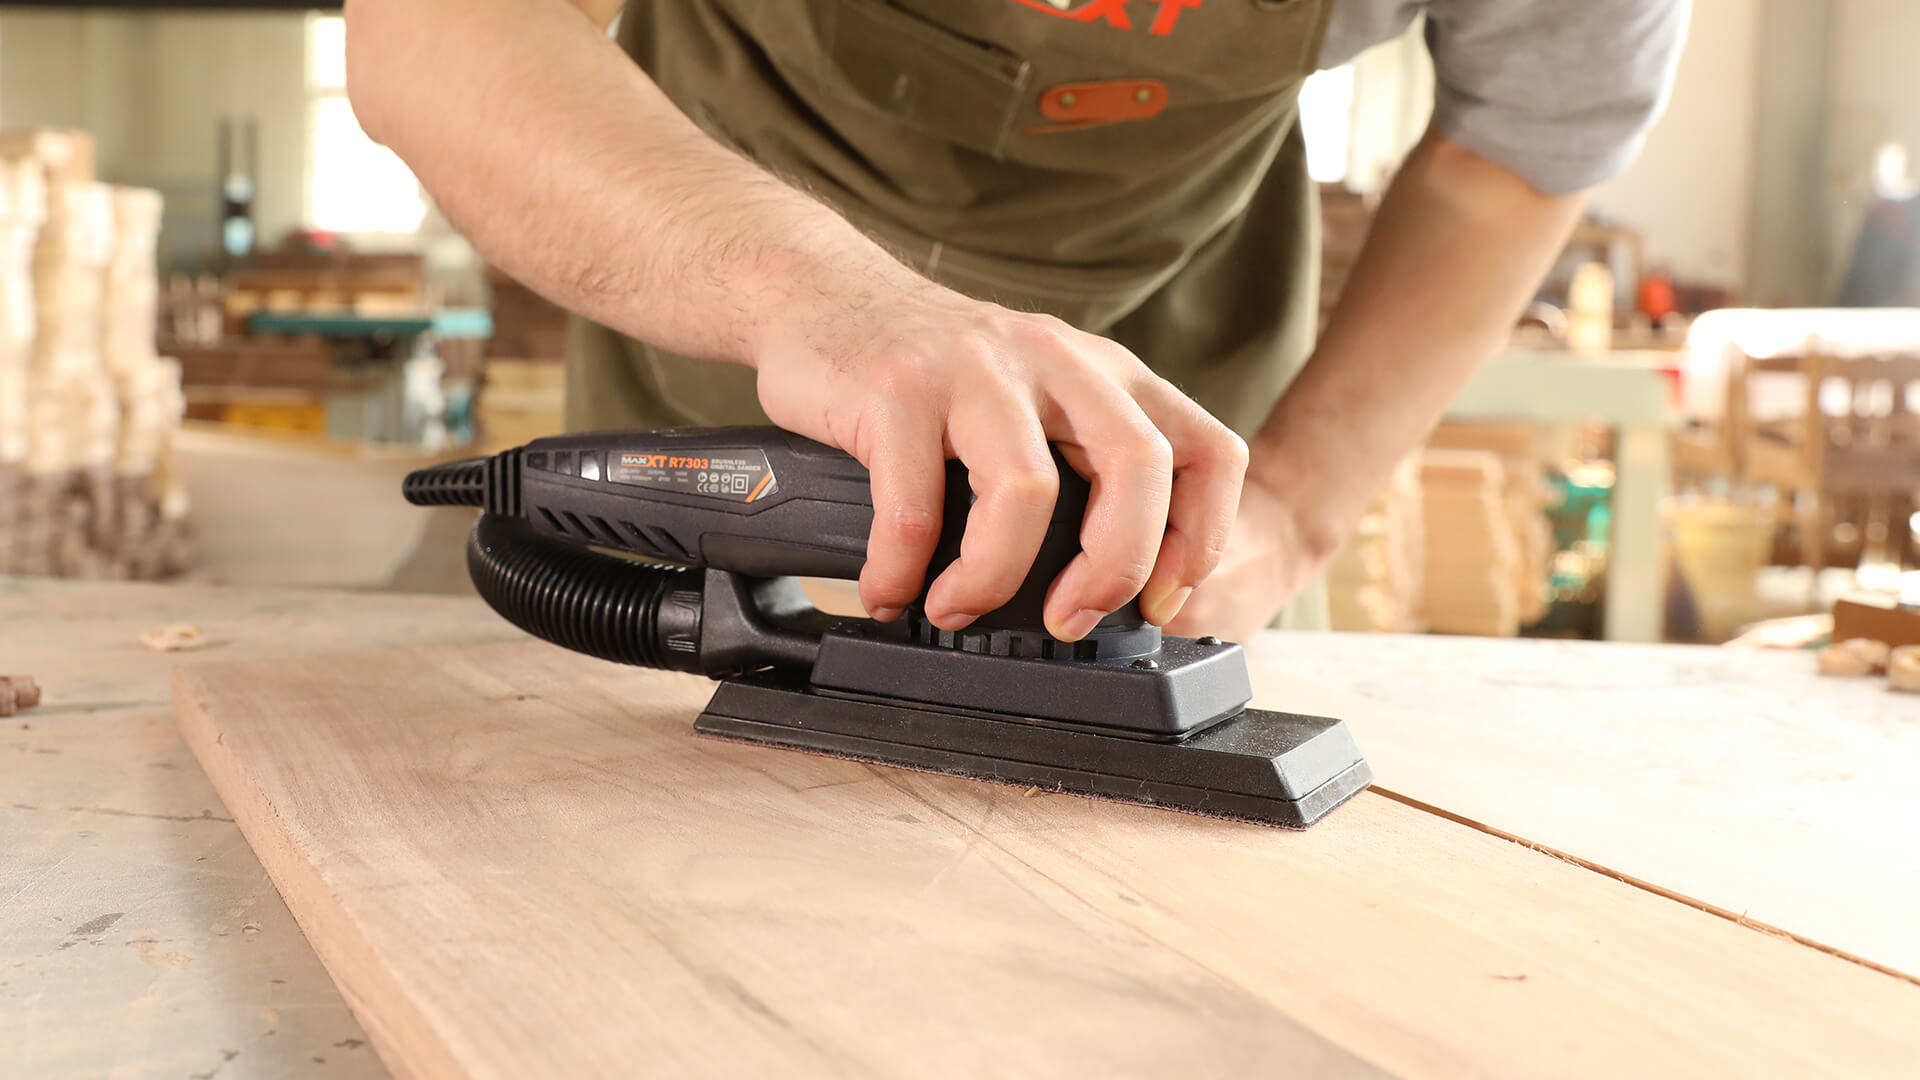
- Lower It onto the Surface: Gently place the sander on the surface. Ensure the sanding pad remains flat against the material to avoid damage. Move the sander in the grain’s direction to guarantee a uniform result.
- Don’t Press Down Too Hard: It’s important to avoid pressing down too firmly on your material. You’ve got an orbital sander, so let it do its job. Maintain light pressure consistently.
- Don’t Move Too Fast or Slow: Ensure you maintain a uniform speed as you move the sander across the surface. It’s important to avoid rapid movements as it can create uneven sanding.
- Inspect Your Progress: Stop at intervals to inspect the smoothness and confirm you didn’t miss any spot. You can overlap old strokes with new ones to ensure complete surface coverage.
- Repeat the Process: Redo the sanding process until you cover all rough edges and get a smooth surface. Usually, this requires you to sand in stages and move from one grit category to another. Remember to replace the sandpaper with a finer grit as you progress.
Step 6: Finish Up
Once you finish sanding, switch off your orbital sander. However, just like when you switched it on, lift it away from the material before switching it off. This minimizes the risk of damage to your surface. Then, unplug the sander or remove the battery.
Afterward, remove the sanding disc from the sander. You can loosen the clamp, hook, or adhesive to do this. If the sanding disc is reusable, store it; otherwise, dispose of it.
Step 7: Clean Your Sanders
Once you finish sanding, clean up your sanders by removing dust or debris. Use a dry cloth to wipe down the exterior of your sander. Dusting the random orbital sanding pad is vital to prevent debris from building up.
Ensure you also empty the dust collection bag after each use to prevent it from clogging. If your sanders have a dust port, use compressed air to remove any residual dust for optimal cleaning.
Step 8: Clean up the Workspace
After cleaning your sander, your workspace is next. Vacuum or sweep the area and remove any dust that you produce. You want to clean the area thoroughly to avoid missing any residue.
Other Maintenance Tips
Maintaining your sanders is essential to guarantee optimal performance. As a result, you need to prioritize protecting your orbital sanders from excessive wear and tear. This involves proactive maintenance and following your manufacturer’s guidelines, among other things.
1. Check for Wear and Tear
Scan your orbital sander before and after each use to see if the sanding pad and discs are worn out. If they are, ensure you change them to prevent problems when sanding.
2. Inspect for Damage
Regularly check for damage to the power cord, handler, or on-and-off switch. Replace damaged items immediately to minimize the risk of a fire or safety hazard.
3. Regularly Replace Your Sanding Discs
Replace the sandpaper at intervals, even when you think it’s still working. It ensures your orbital sanders aren’t overworking to achieve optimal sanding.
4. Lubricate Your Sanders
Oil the moving parts of your sander regularly. However, don’t overlubricate, as this can attract more dust. Consult the user guide for information on lubricating your random orbital sanders.
5. Store Appropriately
After every use, store your orbital sander in a clean and dry place, preferably its box or a protective tool bag. Avoid moist areas, as water can damage your sander. Detach the dust collection bag and remove the battery for cordless sanders.
Bonus Tip: Troubleshooting Common Problems
When using your orbital sanders, you’re likely to encounter some technical problems. However, this is not the end of the road for your sanders. Before thinking of throwing away your orbital sanders, try these tips to fix them.
1. Power Issues
If you have trouble turning your sander on, confirm that the power source works. Check the on-and-off switch and power cord and confirm that you’ve plugged in your power cord correctly.
2. Excessive Noise or Vibration
If you experience excessive noise or vibration, an internal component or the motor is probably faulty. Confirm loose parts or screws and tighten them.
3. Reduced Efficiency
If you experience reduced efficiency, your first stop should be to replace your sandpaper. If the issue persists, replace the sanding pad and clean the dust collection system.
If any of these problems continue, contact a professional servicing company.
Conclusion
Using an orbital sander correctly is key to getting the best results. Remember to adopt the right sanding technique for the project, choose the correct sandpaper grit, and maintain a safe workspace. Proper maintenance is also important for long-lasting performance.
However, getting a high-quality orbital sander is vital to get the best experience. If you’re seeking reliable, efficient, and high-quality sanders, MaxXT offers a range of functional orbital sanders and accessories for hobbyists and professionals.
Our tools are trusted by professionals and industry leaders in 60 countries. So, if you’re a dealer or wholesaler looking to provide premium products to your customers, join our community of premium service providers. Let’s grow a legacy of reliability and quality together!
FAQs
Can You Sand Drywall with an Orbital Sander?
An orbital sander can work on drywall. It’s more efficient, saving time and effort. However, you will need a fine grit to avoid damaging your drywall.
Why Does My Orbital Sander Jump?
This can happen if you don’t connect the sandpaper firmly to your sanding pad. You can also experience jumps when sanding an uneven material or your orbital sander is too fast.
Can I Use Orbital Sanders for Polishing?
With the right accessories, you can use your orbital sanders for polishing. For instance, you can get a polishing pad for them. However, polish your surface at a reduced speed to avoid damage.
How Do I Prevent Swirl Marks During Sanding?
Move your sander continuously and apply minimal pressure to prevent swirl marks on your surface. Using a finer grit at the end of your project is also helpful.
Should I Regularly Replace the Sandpaper on an Orbital Sander
Yes, regularly replace the sandpaper for better job results. Replacing it when it looks clogged or worn is a good idea. So, check your sandpaper before every use to decide if you need to change it. Remember to replace it frequently if you’re sanding metal materials or doing heavy-duty sanding.
Can I Use My Orbital Sander for Fine and Rough Sanding?
Your orbital sander can work for both fine and rough sanding. However, you must adjust your sanding technique and use the correct sandpaper grit. You want to choose a finer grit (from 150 upward) for smooth finishes and switch to a coarser grit (between 40 and 60) when rough sanding. Ensure you adjust your technique to the material.
Are Belt Sanders and Orbital Sanders the Same?
No. They’re different in design, how they function, and suitability for sanding jobs. Belt sanders rotate around two drums using looped sanding belts, while orbital sanders move in small orbits. Belt sanders work better for heavy-duty jobs and rapid material removal and are usually helpful for initial sanding. In contrast, orbital sanders are perfect for detailed jobs and fine finishes.
