In this article, we will explore the basics of using a heat gun for paint removal and discuss some tips to achieve the best results.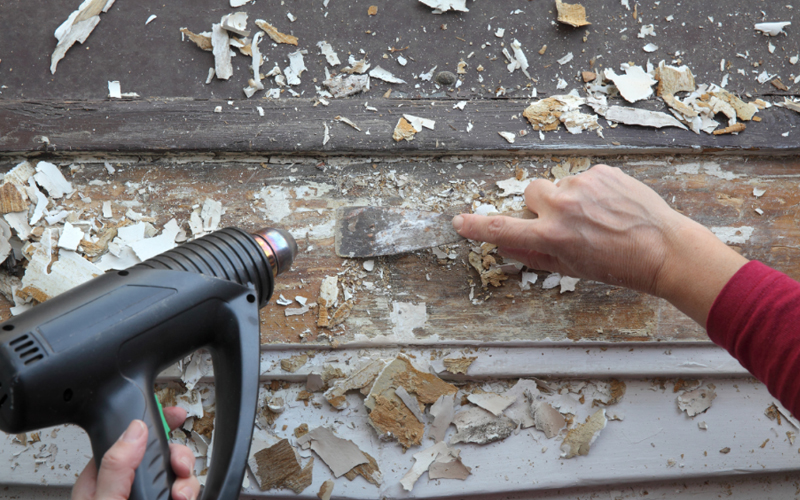
Heat guns operate by emitting a stream of hot air, which can be directed towards the painted surface to weaken the paint’s adhesion.
When used correctly, this tool can make paint removal a much more efficient and manageable process, regardless of the surface material. Understanding how to safely and effectively operate a heat gun will help you remove paint faster and with minimal damage to the underlying surface.
Understanding Heat Guns and Their Uses
A heat gun is a versatile and handy tool commonly used for various applications, including removing paint from surfaces. It works by generating a stream of hot air, which when directed onto a surface, helps to soften the paint, making it easier to scrape off.
Heat guns are designed with different power levels and temperature settings so that they can be used for various tasks. In addition to paint removal, heat guns are also useful for tasks such as:
●Drying wet surfaces
●Thawing frozen pipes
●Shrink wrapping
●Bending plastic and PVC materials
●Soldering, desoldering, and reflowing
●Loosening adhesive and removing stickers
When using a heat gun for paint removal, it is essential to choose the right temperature setting to avoid damaging the underlying material. Generally, a medium or high setting is recommended for removing paint.
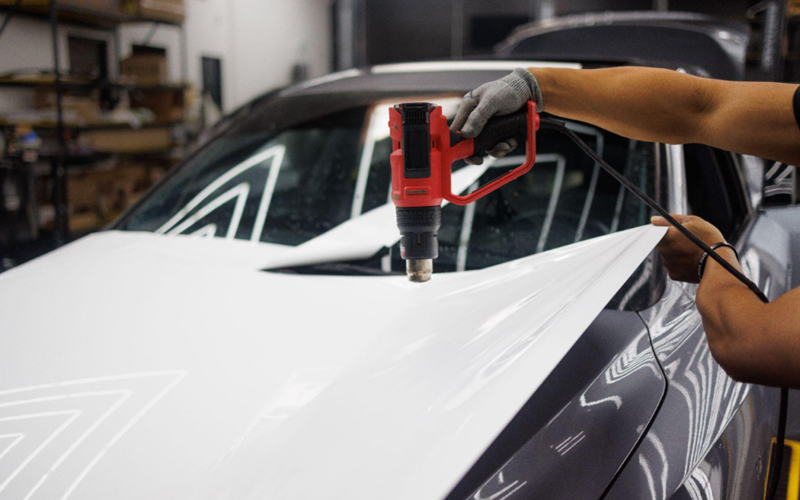
However, always consult the instructions and proceed with caution, as using excessively high temperatures can cause burns or damage to the substrate.
Additionally, it’s crucial to maintain a safe distance between the heat gun and the surface being worked on. Generally, a distance of approximately 4 inches is recommended.
Preparing the Area for Paint Removal
Before getting started with the actual use of a heat gun, it’s important to first prepare the area where you’ll be working. This section will guide you through how to section off the area, clean the surface, and put on the necessary safety gear.
Section off the Area
Before starting on the paint removal process, it’s essential to mark the area to be worked on. This can be done by using painter’s tape or masking tape to clearly outline the region where the paint needs to be removed.
You should also cover the surrounding area with drop cloths or tarps to protect the floor and any nearby fixtures from falling paint debris and scraping tools.
Clean the Surface
In order to ensure that the heat gun works efficiently, it’s crucial to start with a clean surface. Begin by wiping down the area with a damp cloth to remove any dirt or dust. For more stubborn grime, use a mixture of mild soap and water. This will help the heat gun to evenly heat the surface and produce better results when removing paint.
Put on Safety Gear
When using a heat gun, personal safety should always be taken into consideration. This means putting on the proper protective gear before starting the paint removal process. The following list outlines the necessary safety gear for this task:
●Gloves: Wear heat-resistant gloves to protect your hands from burns and any sharp tools used for scraping.
●Eyewear: Safety glasses or goggles will prevent debris and paint particles from getting into your eyes.
●Respirator: A respirator mask is recommended to avoid inhaling harmful fumes produced by the combination of heat and paint.
By taking the time to prepare the area, clean the surface, and put on protective gear, you’ll create a safer and more efficient work environment for using a heat gun to remove paint.
Using a Heat Gun to Remove Paint
Heat guns are a useful tool for removing old paint from various surfaces. They can significantly speed up the paint removal process and make it easier to complete the task.
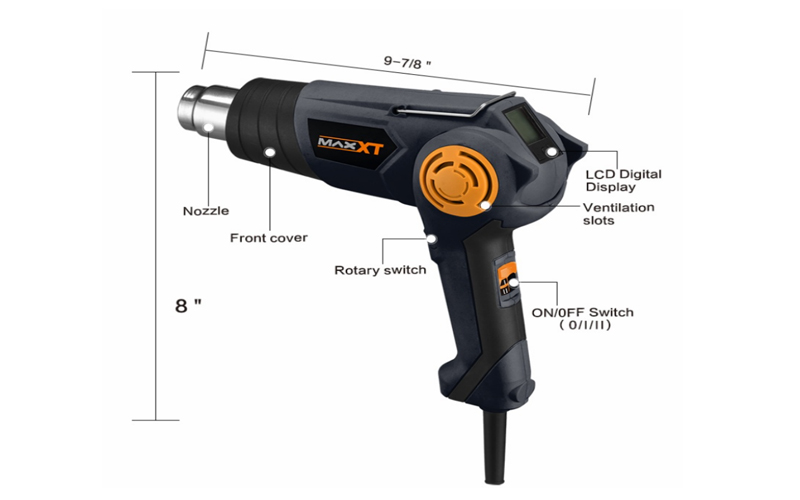
In this section, we will discuss the steps to successfully use a heat gun for removing paint, with a focus on selecting the right temperature, working in small sections, applying the heat, and scraping the paint.
Selecting the Right Temperature
Before using a heat gun, it is essential to select the appropriate temperature setting.
The temperature required may vary depending on the type of paint and the material it is on.
In general, you will want to start at a medium heat setting (around 300-400°F) and gradually increase the heat if necessary.
Be cautious not to overheat the surface, as this can damage the material or cause paint and fumes to ignite.
Working in Small Sections
To ensure even removal of paint, work in small sections rather than attempting to remove the paint from the entire surface at once.
This will make it easier to monitor the heat gun’s impact on the paint and material and allow you to adjust the settings as needed.
Apply the heat in a slow and controlled manner, keeping the nozzle a few inches away from the surface.
Applying Heat
To begin removing paint using a heat gun, turn the device on and wait for the selected temperature to be reached.
Hold the heat gun approximately two inches above the surface and use a continuous sweeping motion to apply heat evenly.
Be cautious not to overheat any area, as this can damage the material or cause the paint and fumes to ignite.
Scraping the Paint
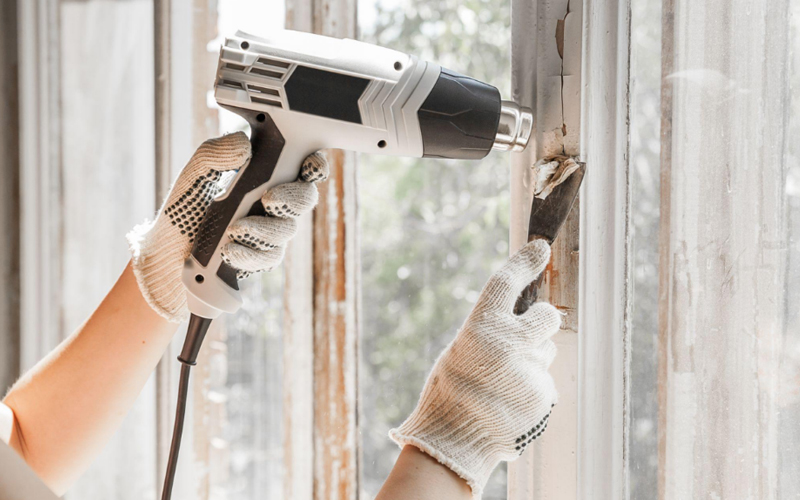
Once the heat gun has been applied to an area and the paint begins to loosen or bubble, use a paint scraper or putty knife to remove the paint from the surface.
It might be helpful to use a scraping tool in one hand and the heat gun in the other, allowing you to remove the paint as it loosens. 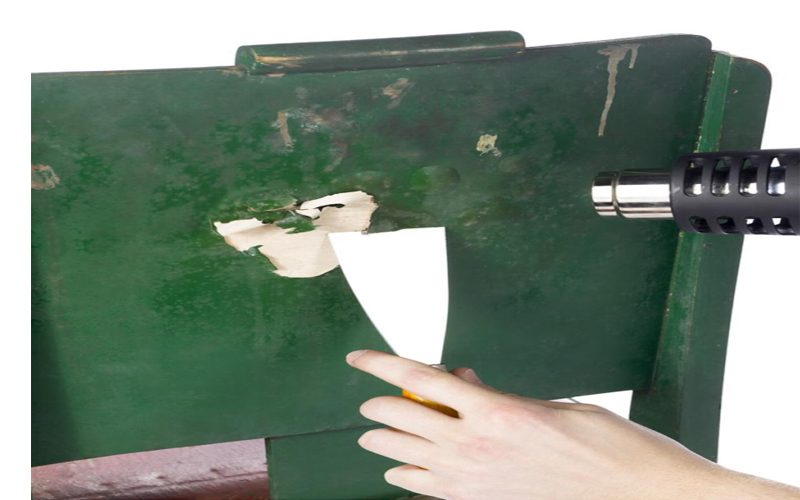
Place a drop cloth or other covering beneath the area you are working on to catch any debris or paint chips that fall.
Following these steps and precautions should make the process of using a heat gun to remove paint efficient and effective.
Cleaning and Inspecting the Surface
Before starting the paint removal process with a heat gun, it is important to clean and inspect the surface to ensure a smooth and efficient outcome.
Removing Residue
Firstly, clean the surface to remove any dirt, grease, or other debris that could interfere with the effectiveness of the heat gun.
This can be done using a cloth or sponge with a mixture of mild soap and water.
Pay special attention to areas with accumulated grime or residue, as they might require extra scrubbing. Rinse the surface with clean water and dry it thoroughly afterward.
Sanding the Surface
Next, lightly sand the surface using a medium-grit sandpaper to remove any loose paint and rough edges.
This step is crucial in promoting better paint adhesion for the new coat of paint.
When sanding, avoid using excessive force, to prevent damaging the surface underneath.
After sanding, wipe the surface with a dry cloth to remove any dust and debris from the sanding process.
Evaluating the Results
Once the surface is clean and sanded, inspect it carefully for any remaining imperfections, such as cracks or uneven areas.
If necessary, use a putty knife or scraper to fill in and smooth out any damaged areas with wood filler or other appropriate materials.
Allow the filler to dry as per the manufacturer’s instructions, and sand the surface once again to ensure a uniform finish before proceeding with the heat gun paint removal process.
Safety Precautions and Tips
Avoiding Overheating
When using a heat gun to remove paint, it is essential to avoid overheating the tool or the surface being worked on.
Keep the heat gun moving in a continuous sweeping motion, never holding it in one place for more than 2 or 3 seconds.
Holding the heat gun too close to the surface or for too long can cause damage to the paint or the material underneath.
Proper Ventilation
Proper ventilation is important when working with a heat gun, as the process generates high temperatures and may release harmful fumes.
Ensure that the working area is well-ventilated, and consider using a respirator mask to protect against inhaling dangerous substances.
If possible, open windows and doors to allow fresh air in and help dissipate the heat generated by the gun.
Handling a Heat Gun Safely
Safe handling of a heat gun is paramount to avoid accidents and injuries during the paint removal process. Some safety tips to follow include:
●Wearing long pants and sleeves made of fire-resistant materials such as Kevlar or Nomex.
●Tying back long hair and avoiding loose clothing that could catch fire.
●Using heat-resistant gloves while operating the gun.
●Keeping the heat gun at least 2 inches (5.1 cm) away from the painted surface.
●Removing children and pets from the room during the paint removal process.
By following these safety precautions and tips, one can effectively and safely use a heat gun to remove paint from various surfaces.
Alternatives to Heat Guns
While heat guns are a popular choice for paint removal, there are other methods available for those who prefer not to use heat.
In this section, we will discuss two other common alternatives: chemical strippers and sanding.
Chemical Strippers:
●Chemical paint strippers are thick, gooey liquids that are applied to the paint surface.
●They work by breaking down the paint over a period of time, allowing it to be scraped off easily.
●Chemical strippers are especially effective for removing water-based and lead-based paint.
●While they are generally effective at removing paint from larger areas, proper ventilation and protective equipment are necessary due to the strong fumes and potential hazards associated with their use.
Zımparalama:
●Sanding is another popular method of paint removal that involves using abrasive materials to wear down the paint surface.
●It can be done manually using sandpaper, or with the help of power tools such as orbital sanders and belt sanders.
●This method is generally more time-consuming and can generate a significant amount of dust, making it less suitable for large areas or delicate surfaces.
●However, it can be an effective option for smaller projects and areas where chemical strippers may not be suitable.
When deciding on the best method for paint removal, it’s important to consider factors such as the size and type of the surface, the type of paint being removed, and one’s personal preference for using heat, chemicals, or abrasive materials.
